
Create a Copilot Action with Copilot Studio: Conversational
Learn how to create your own Conversational Copilot Action with Copilot studio
Copilot
Copilot Action
Copilot Studio
This blogpost is the third of a series about building your MCP server, hosting it on Azure and finally implementing it in a M365 Copilot agent
In part one we built our MCP server, and in part two we deployed it to Azure Container Apps. The server is live, secured with an API key, and ready to receive requests. Now for the fun part: making it talk to Microsoft 365 Copilot.
There are two ways to connect an MCP server to a Copilot agent. This post covers Copilot Studio, the no-code/low-code route that gets you there fastest. If you prefer a fully code-first approach using a declarative agent manifest and Microsoft 365 Agents Toolkit, that’s covered in part four.
By the end of this post you’ll have a Copilot agent, a customized version of Microsoft 365 Copilot with a specific persona, instructions, and access to your MCP tools. Users can chat with it in Microsoft Teams, SharePoint, or directly in the Microsoft 365 Copilot app, and it will call your Azure-hosted MCP server to retrieve and update live project data.
The experience from the user’s perspective is completely natural. They just type what they need, and the agent figures out which tool to call, calls it, and weaves the result into a coherent response. The underlying MCP infrastructure is completely invisible.
Before you start, make sure you have:
Navigate to copilotstudio.microsoft.com and sign in with your work account.
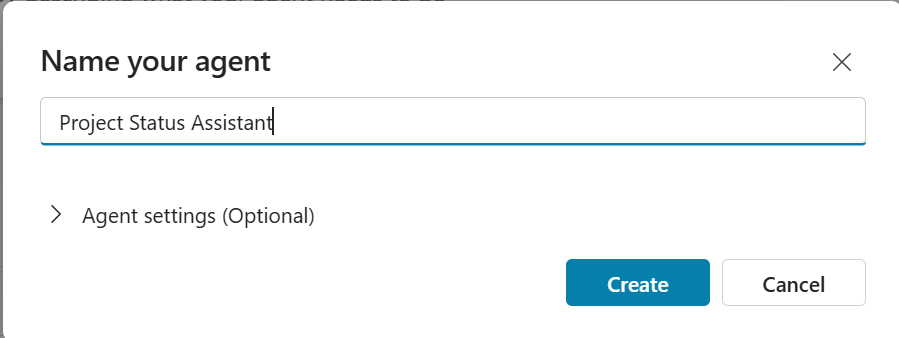
On the home screen, click Create in the left navigation, then choose New agent. You’ll see a pop-up to enter the name of your agent, let’s take Project Status Assistant for our agent.
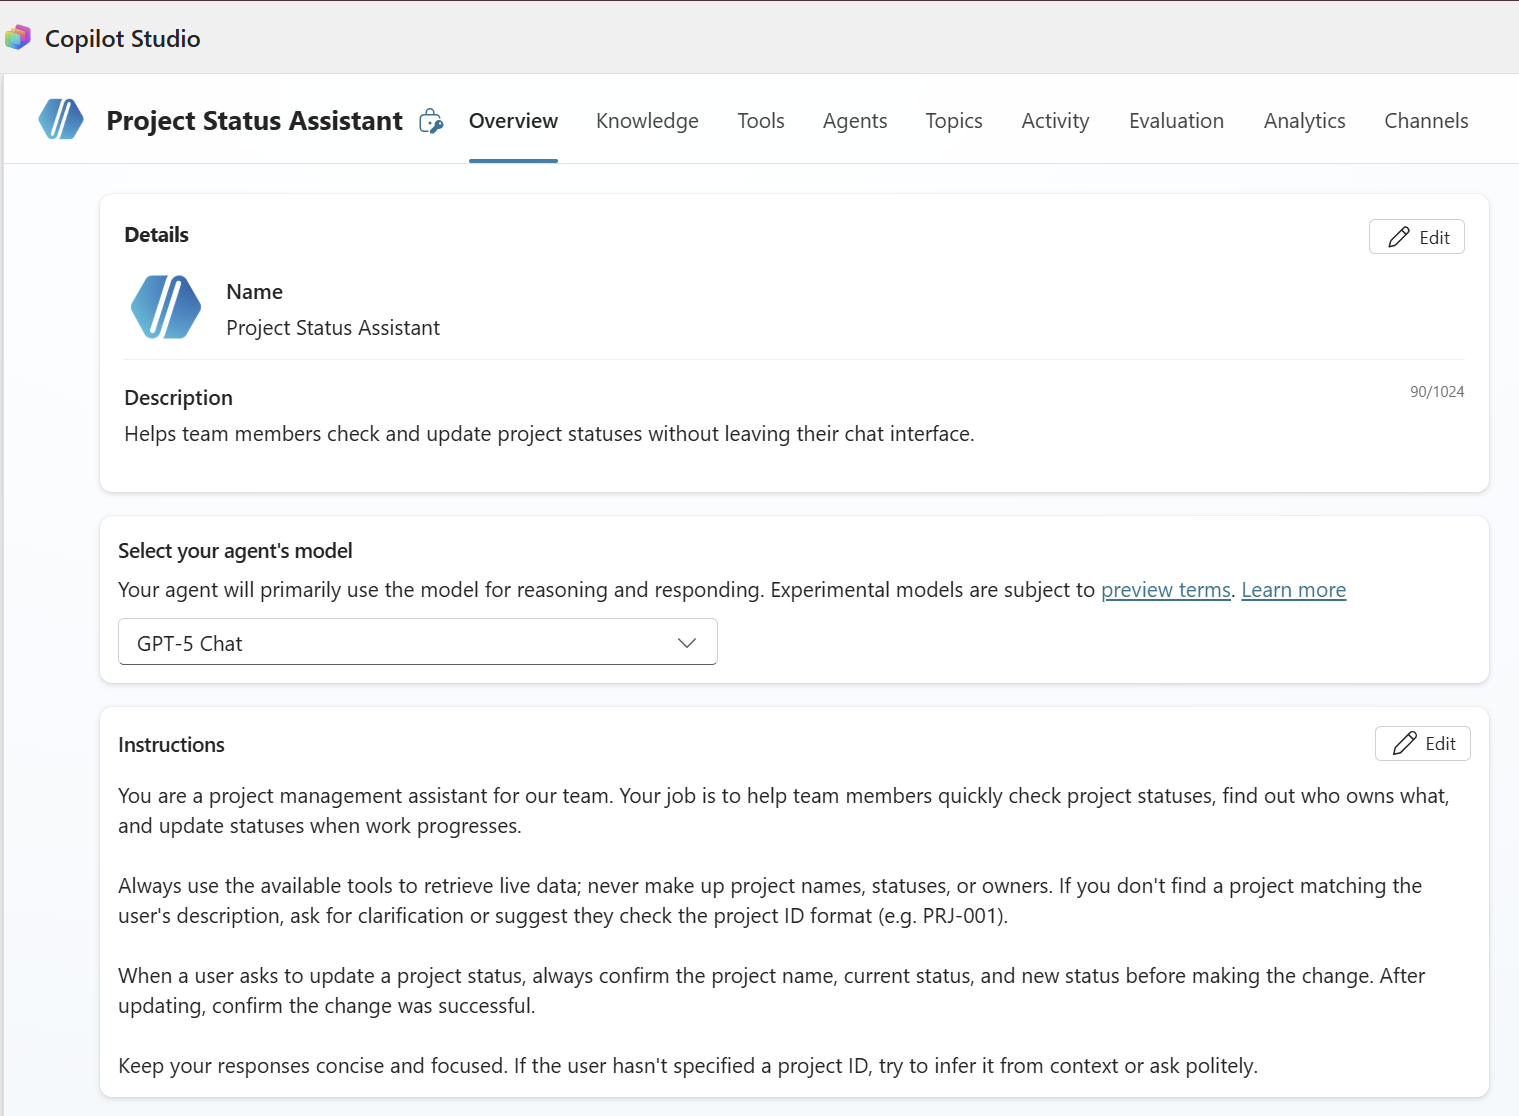
You’ll be taken to the agent editor. You can describe your agent in plain language. Fill in the Description: Helps team members check and update project statuses without leaving their chat interface.
The instructions field is the system prompt for your agent. This is where you define its persona, its scope, and how it should behave. A well-written instructions field is the difference between an agent that feels polished and one that feels generic.
Here’s a solid starting point:
You are a project management assistant for our team. Your job is to help team members quickly check project statuses, find out who owns what, and update statuses when work progresses.

Always use the available tools to retrieve live data; never make up project names, statuses, or owners. If you don't find a project matching the user's description, ask for clarification or suggest they check the project ID format (e.g. PRJ-001).

When a user asks to update a project status, always confirm the project name, current status, and new status before making the change. After updating, confirm the change was successful.

Keep your responses concise and focused. If the user hasn't specified a project ID, try to infer it from context or ask politely.
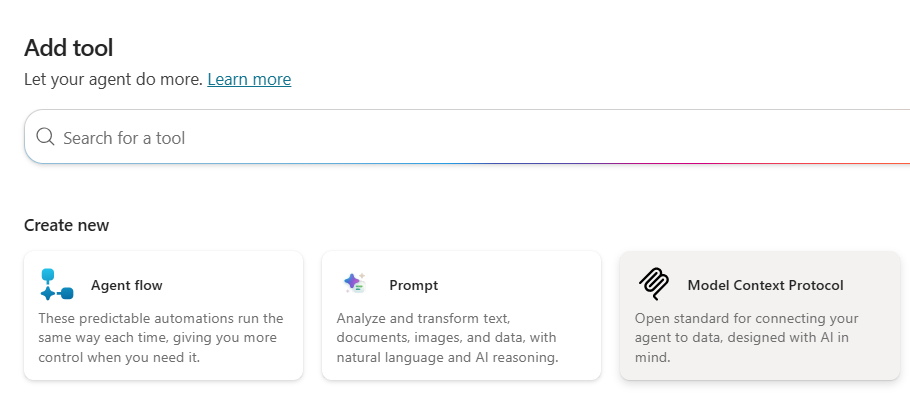
Navigate to the Tools tab and click + Add a tool.
A panel opens asking what kind of tool you want to add. Select Model Context Protocol (MCP).
You’ll see the Add a Model Context Protocol server dialog. Fill in the following fields:
https://mcp-project-server.mangowater-1d42cf6d.westeurope.azurecontainerapps.io/mcpx-api-key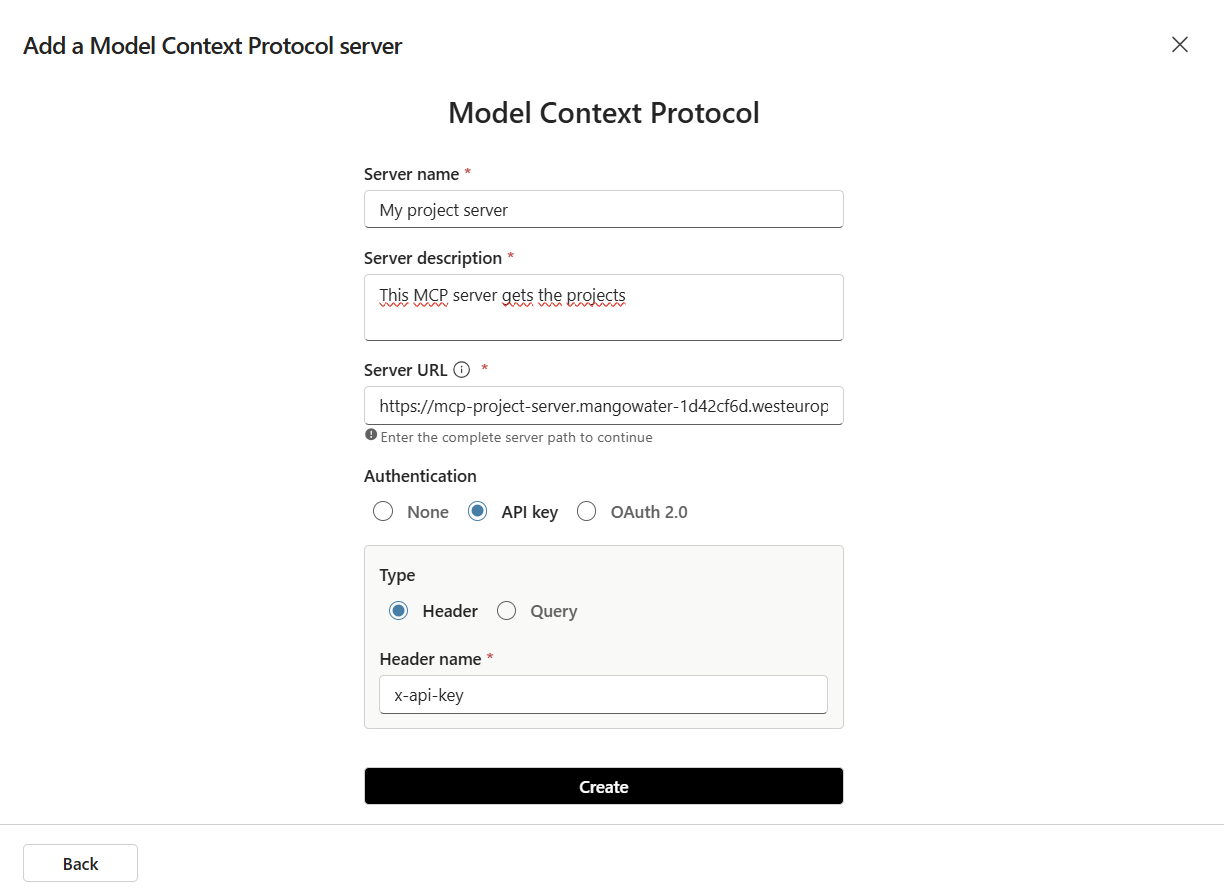
Next, click Create.
Note
Note that you only fill in the header name here, not the value. The actual API key value is stored separately as a connection, which keeps it out of the tool definition itself.
After clicking Create, Copilot Studio confirms the custom connector was created and shows the tool with a Not connected status.
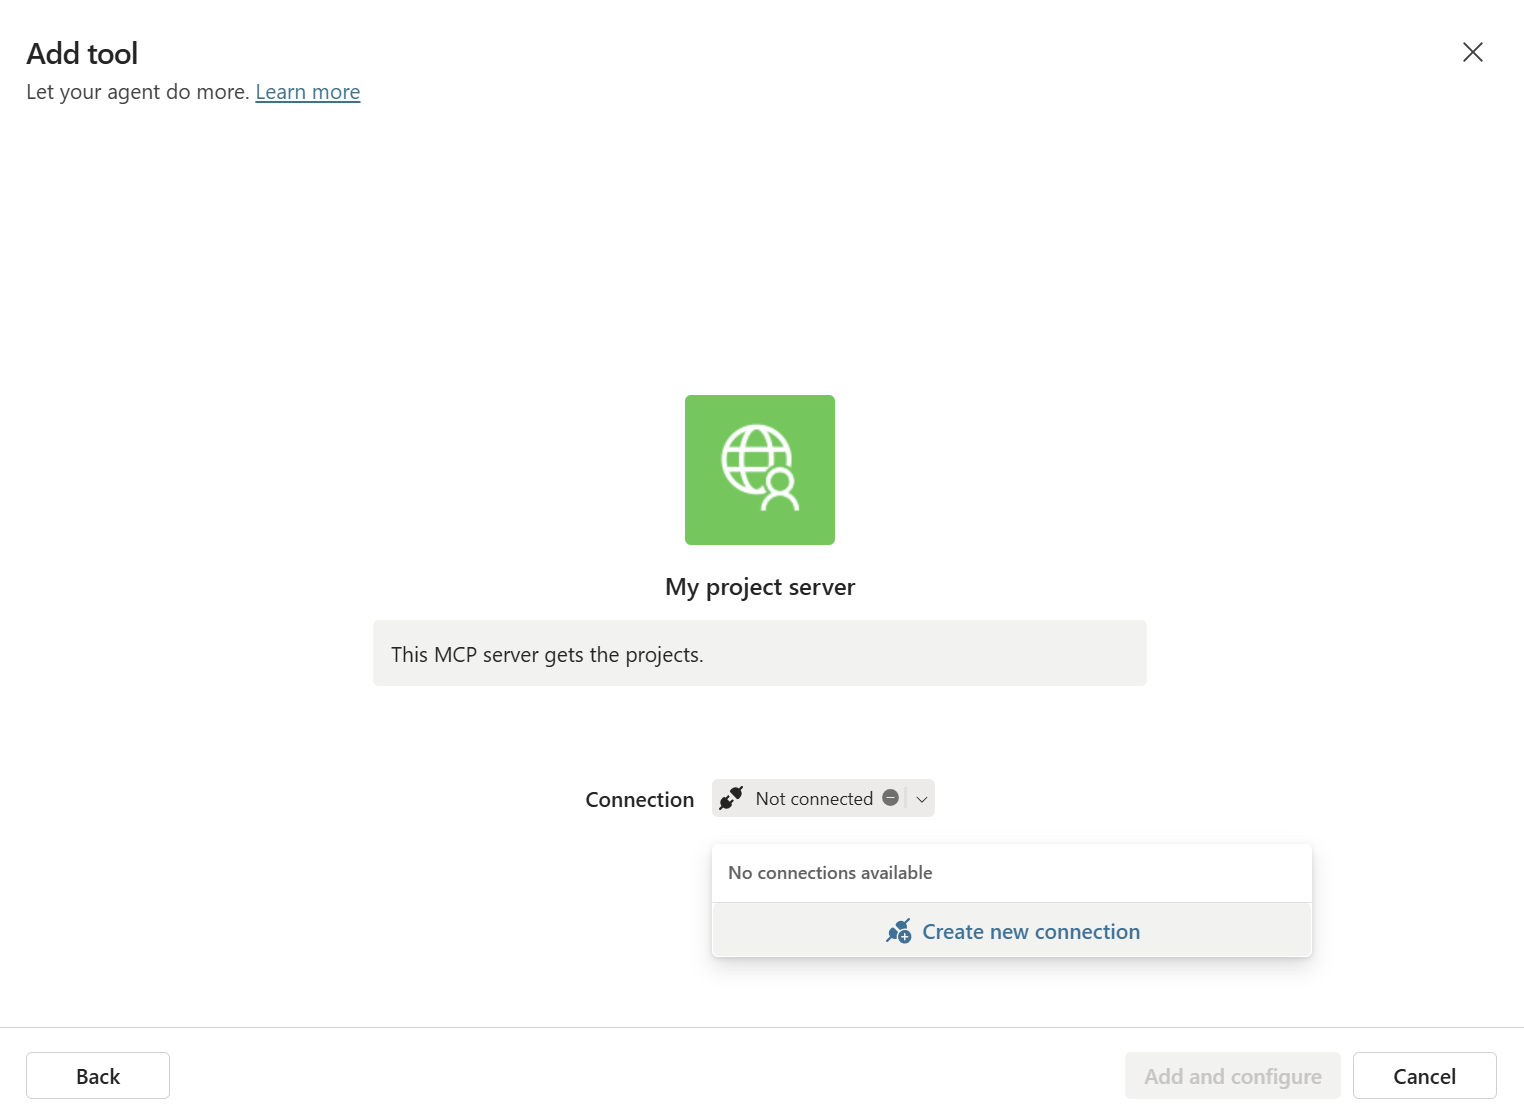
Click the Not connected dropdown and select New connection. A dialog appears asking you to provide the API key value, this is where you enter the actual secret:
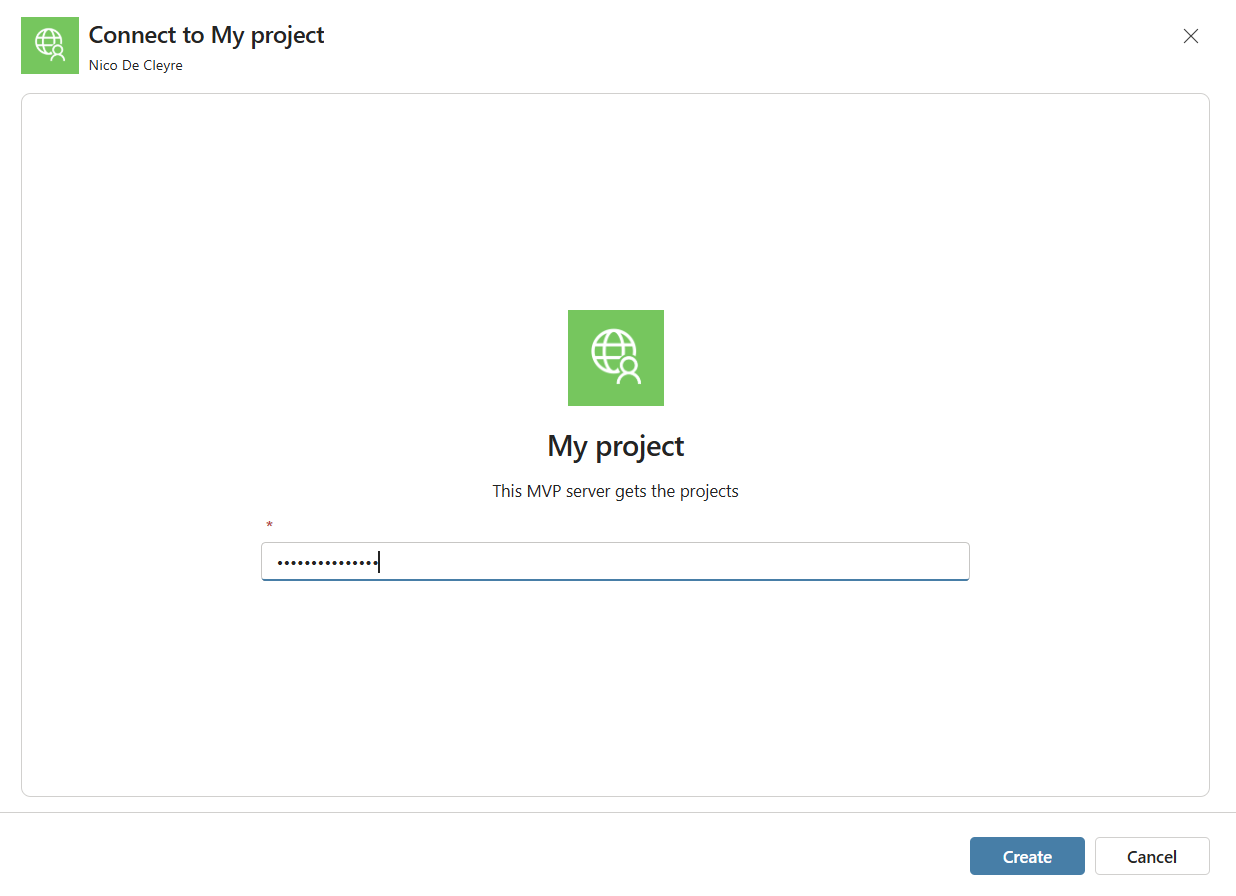
Enter your API key (the same value you stored in your Azure Container App secret in part two) and click Create. The status changes to Connected.
This two-step approach, defining the header name in the tool, and storing the value separately as a connection, means the key is managed per-user or per-environment without being hardcoded into the agent definition itself.
Once connected, Copilot Studio performs the MCP handshake with your server and automatically discovers all available tools. You’ll see your three tools listed under the connector:
getProjectStatus: Retrieves the current status and owner of a project by its IDupdateProjectStatus: Updates the status of a projectlistProjects: Returns a list of all projects with their current status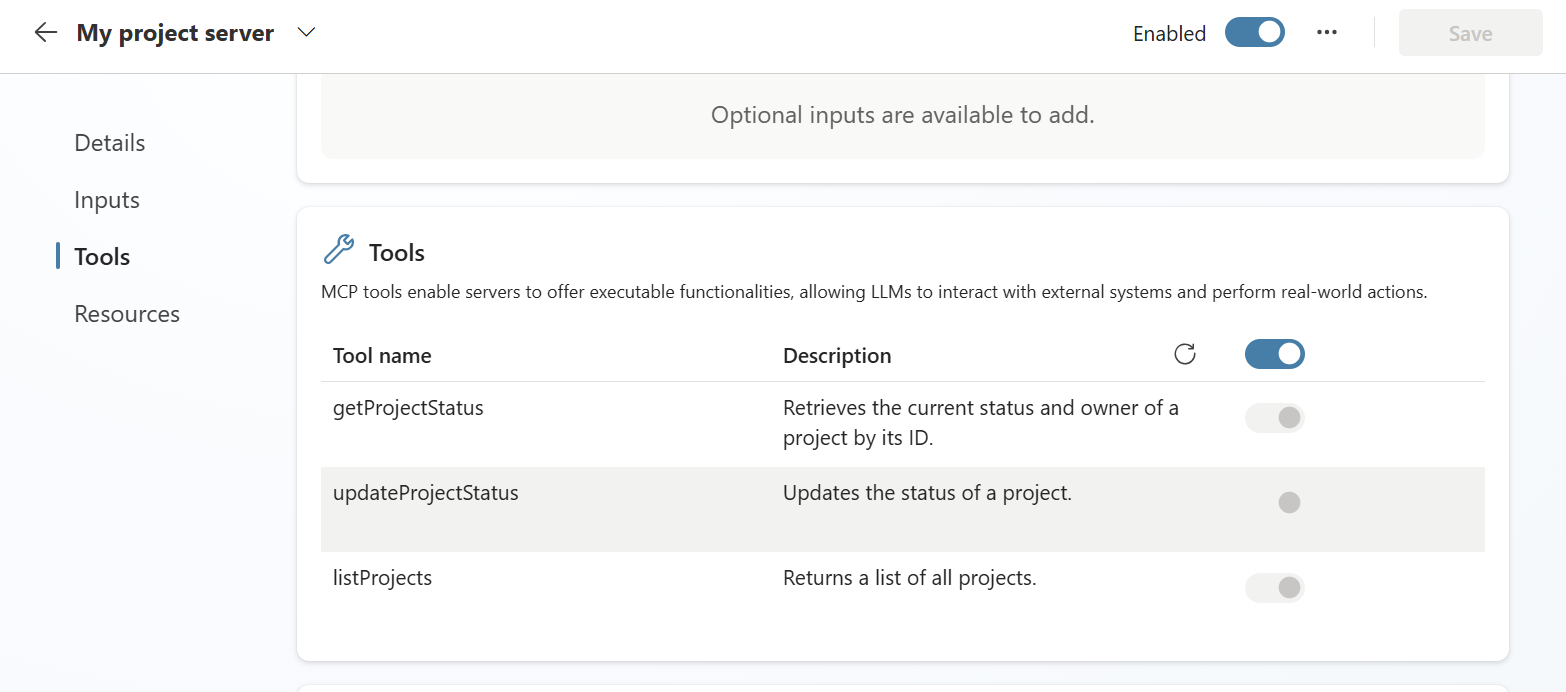
This automatic discovery is one of the key benefits of MCP. You don’t describe your tools to Copilot Studio manually. It reads the tool definitions, descriptions, and input schemas directly from your server. This also means that when you add a new tool to your MCP server and redeploy, Copilot Studio picks it up automatically on the next sync.
This is why the tool descriptions you write in server.js matter so much. The model uses them to decide when to invoke each tool. If they’re vague or similar to each other, the agent will struggle to pick the right one.
Before publishing, test your agent in the built-in playground on the right side of the editor.
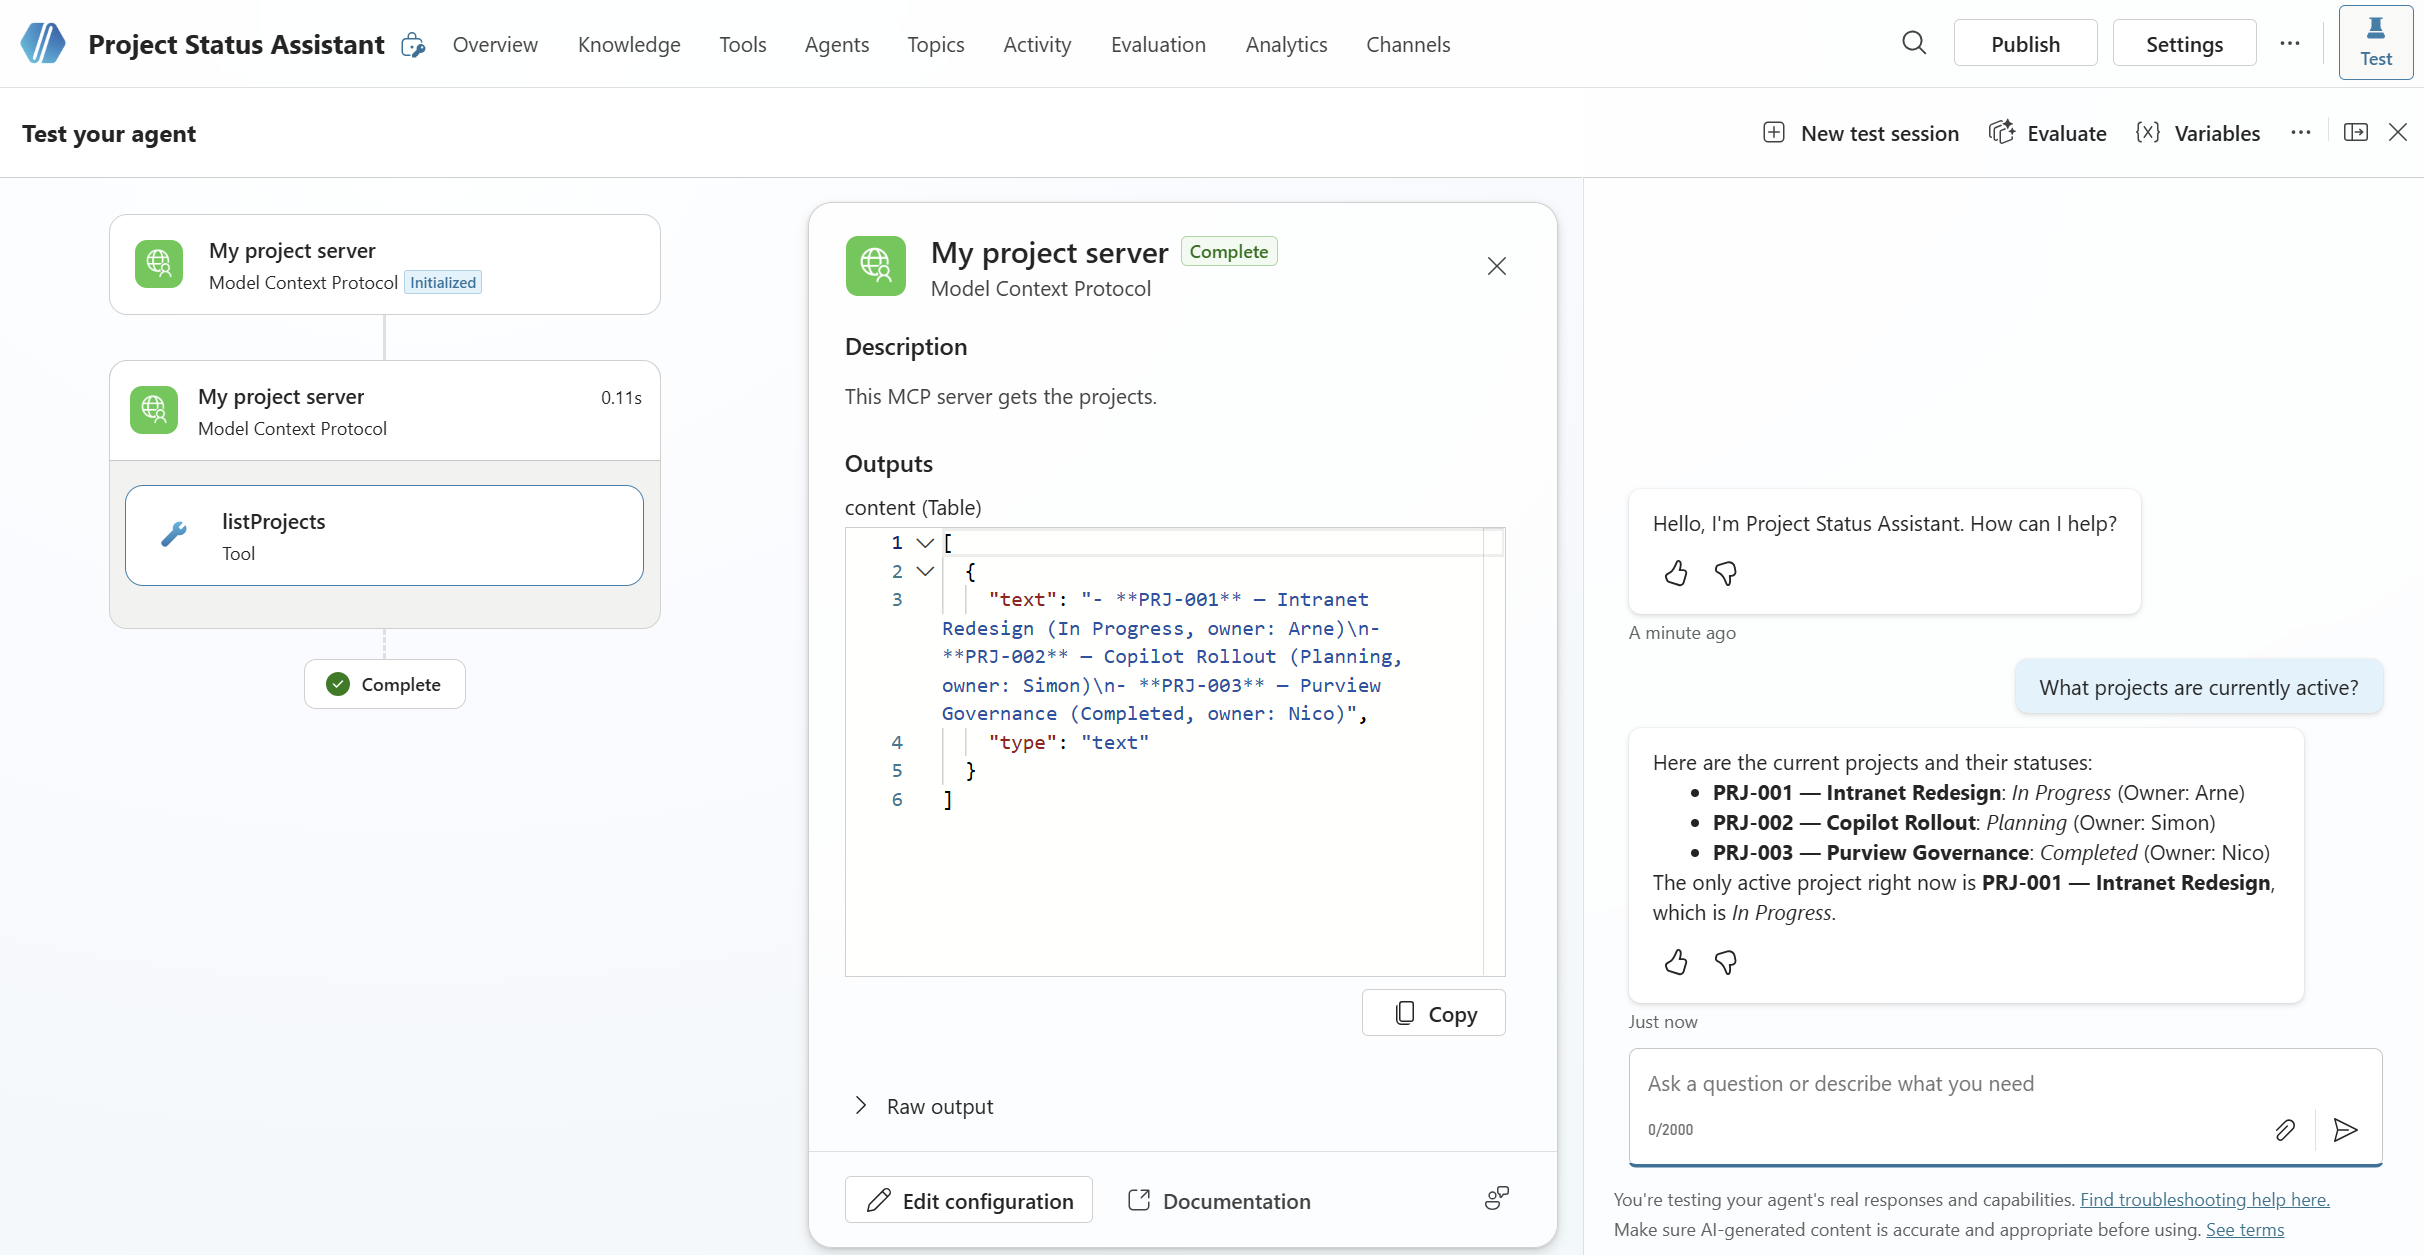
Listing projects:
“What projects are currently active?”
The agent should call listProjects, get the response from your Azure-hosted MCP server, and format it into a readable reply.
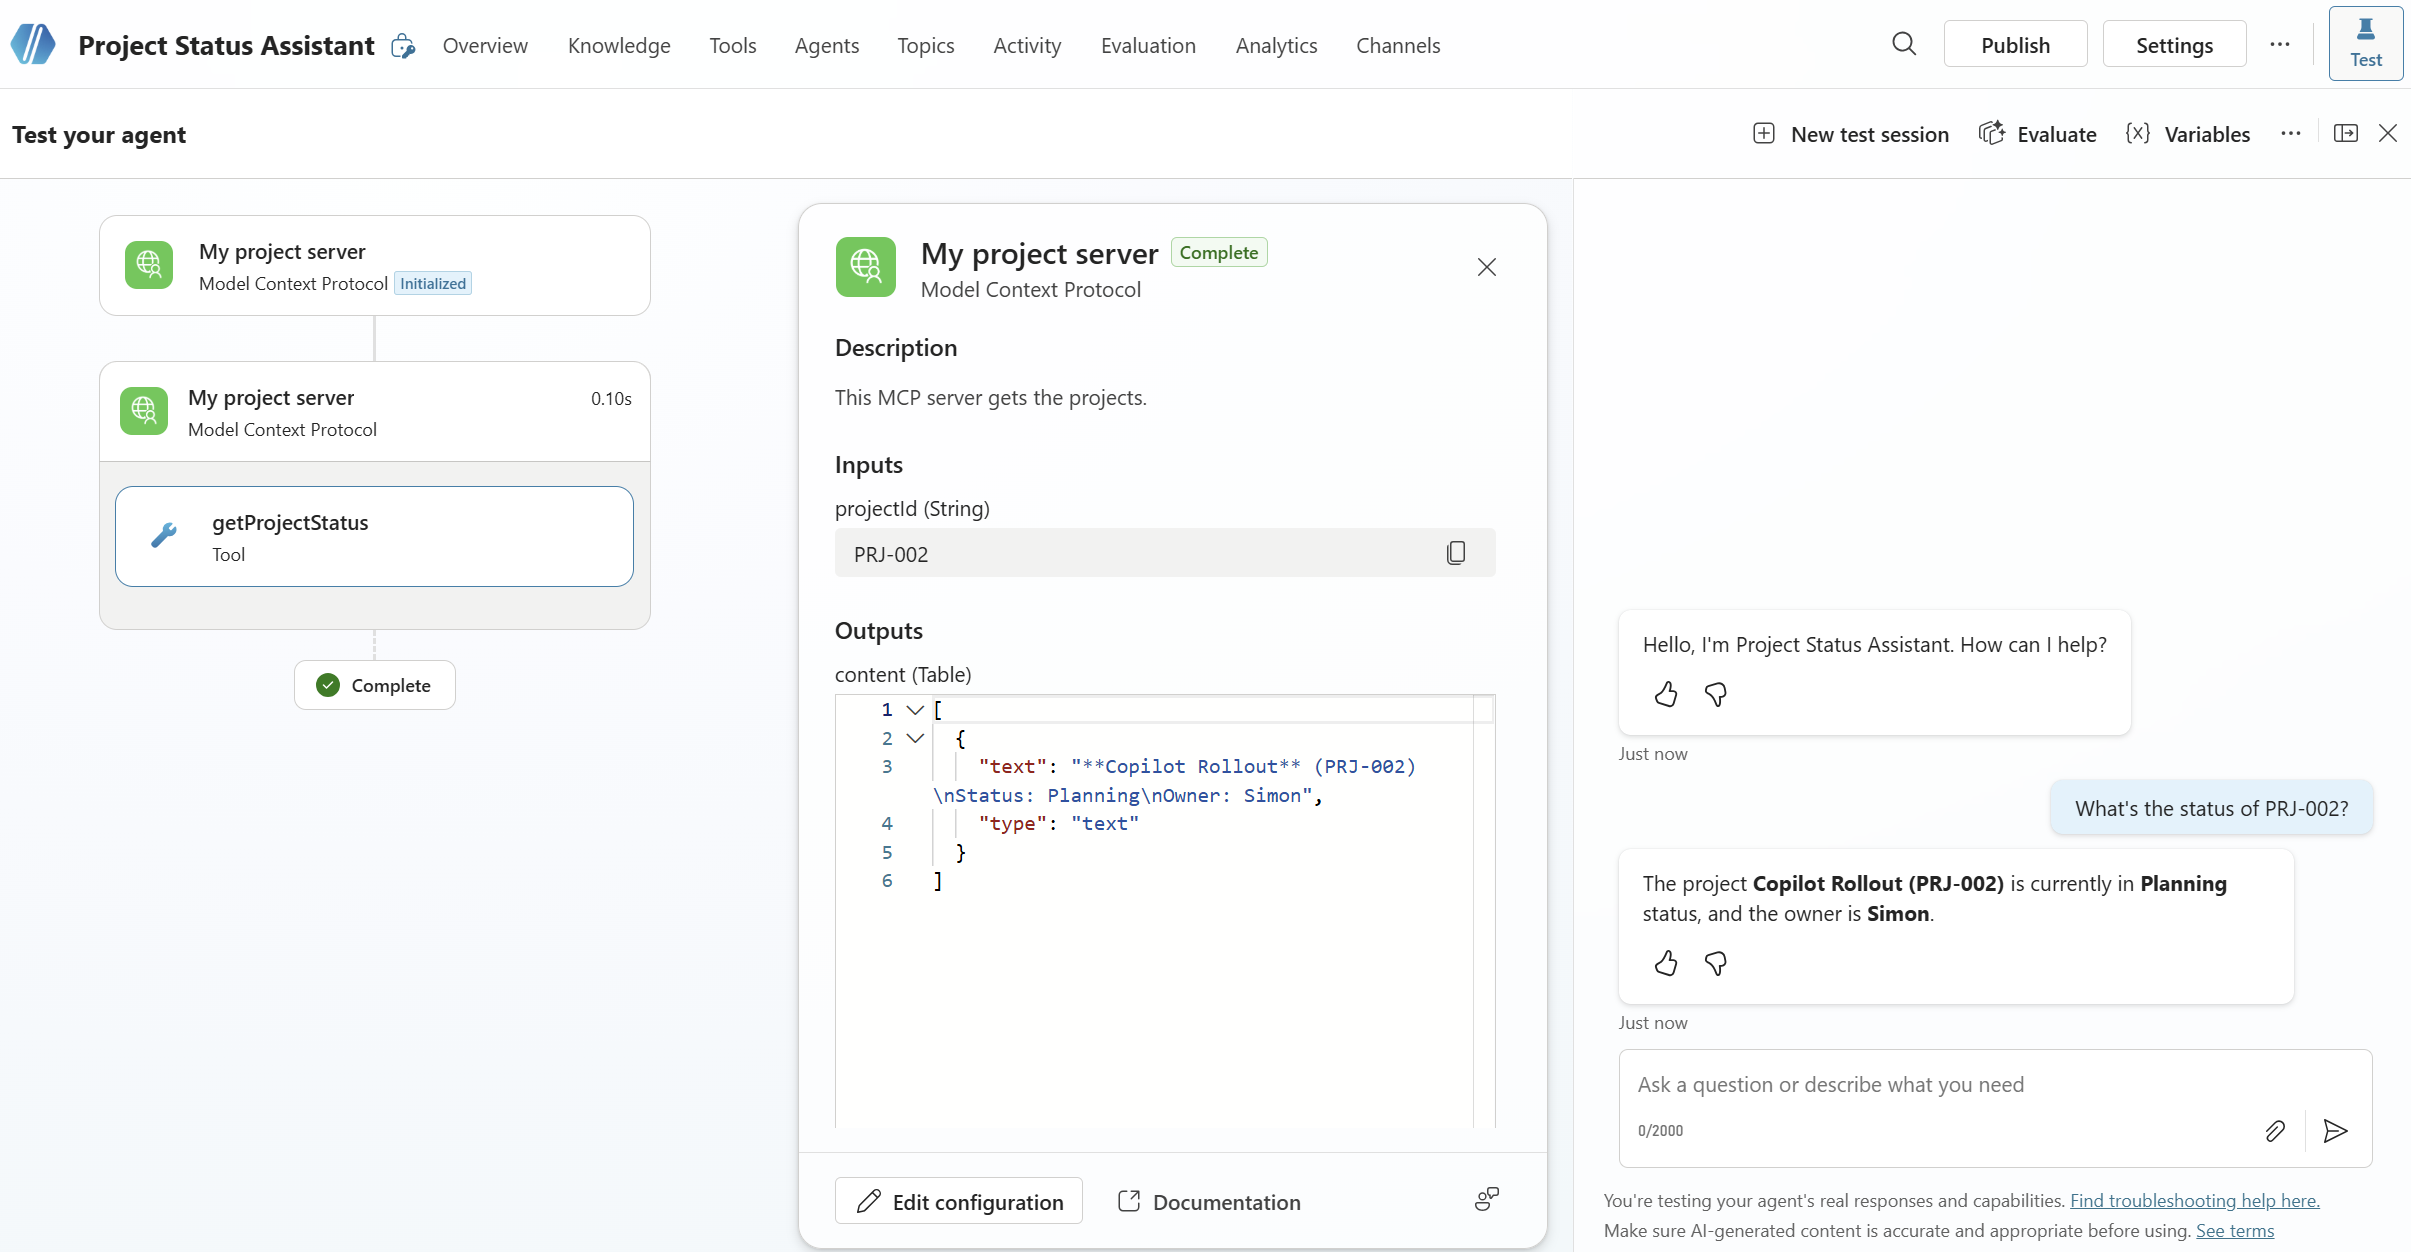
Getting a specific project:
“What’s the status of PRJ-002?”
This should trigger getProjectStatus with projectId: "PRJ-002" and return the project details.
Updating a project:
“Mark PRJ-001 as completed.”
The agent should confirm what it’s about to do before making the change, then call updateProjectStatus and report back.
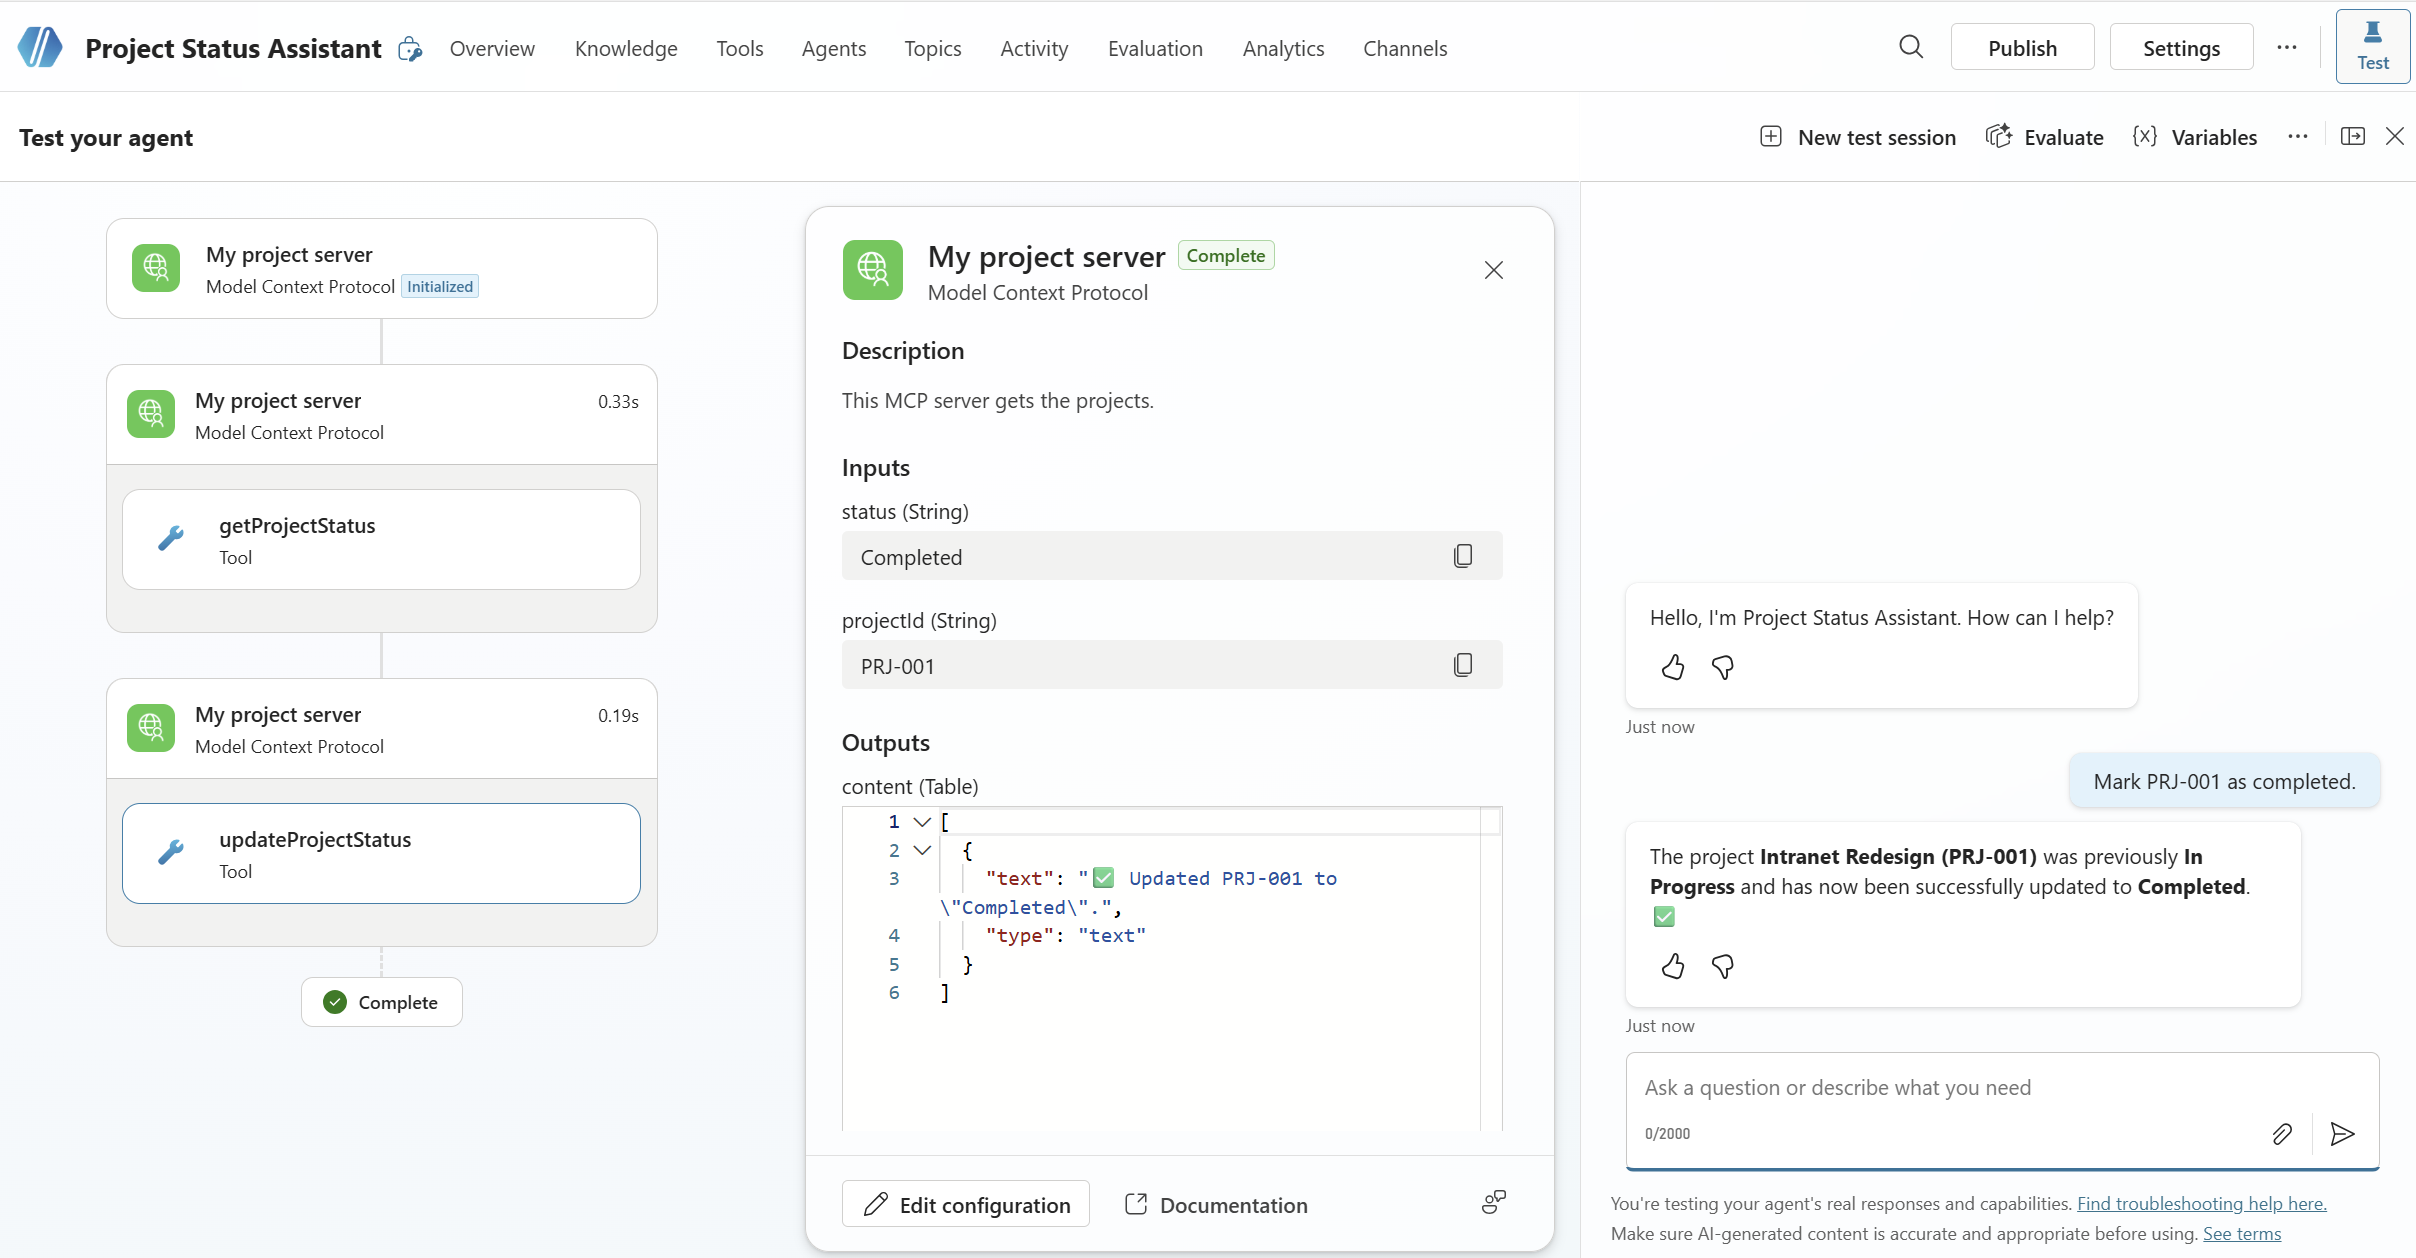
If a tool call fails or the agent doesn’t invoke a tool when you expect it to, check the Activity panel next to the chat. It shows exactly which tools were invoked, what parameters were passed, and what the server returned; invaluable for debugging.
Once you’re satisfied with the behavior, click Publish in the top right corner. Copilot Studio validates the configuration and publishes the agent, the first publish usually takes a minute or two.
After publishing, manage availability via Channels:
Microsoft Teams: users can find and chat with your agent directly in Teams, either as a personal app or published to your organization’s Teams app catalog.
SharePoint: embed the agent on a SharePoint page using the Copilot Studio web part.
Microsoft 365 Copilot: makes your agent selectable in the main Microsoft 365 Copilot experience (requires the appropriate Copilot Studio license).
For a quick test, choose Microsoft Teams and click Open in Teams. This opens a direct chat with your agent in Teams without requiring admin approval.
Learn how to create your own Conversational Copilot Action with Copilot studio

Learn how to create your own Copilot Action with Copilot studio